How To Use The Raster Feature In 3D2HOLO Desktop
The raster feature in 3d2holo-desktop is meant for print workflows that need a CUPS raster `.ras` file or direct CUPS submission instead of a standard PNG or TIFF export. If your printer workflow is built around Epson Gutenprint and CUPS, this is the most direct bridge from interlaced image generation to an actual print queue.

What this guide is based on
This article is based on the current 3d2holo-desktop implementation in the local repository, plus official CUPS documentation and the Gutenprint user manual. Package names and exact option labels can vary slightly by Linux distribution and printer model, so you should confirm the final labels shown by your own CUPS queue.
What the raster feature does
Inside 3d2holo-desktop, raster mode is the output path used when you choose `FORMAT = ras`. Instead of saving a regular bitmap for a general editor, the app prepares a CUPS raster stream that is easier to hand off to a printer queue configured through CUPS.
The desktop code currently exposes raster-specific controls for resolution, raster direction, printer selection, page size, and X/Y placement offsets. When you print, the native addon submits the file through CUPS and explicitly passes print options such as `Resolution`, `PageSize`, `media`, and `StpPrintingDirection=Unidirectional`.
At the moment, raster mode directly supports only Epson L1800, Epson L1300, and Epson P608. If another Epson printer is supported by Gutenprint, you can still start by selecting Epson L1800 inside 3d2holo-desktop as a temporary fallback for testing.
- Use raster mode when the last step of your workflow is an actual CUPS-managed print process, not only a file handoff.
- Use it when you want the page size and physical placement to line up with printer settings before submitting a job.
- Use it when your Epson workflow depends on Gutenprint options inside a CUPS queue.
1. Install Gutenprint and CUPS for an Epson workflow
On Debian and Ubuntu based systems, the simplest path is to install CUPS plus the Gutenprint CUPS driver package. The package names below match the current package search on a Debian/Ubuntu style system.
- Install `cups`, `cups-client`, and `cups-daemon` so the print service and queue tools are available.
- Install `printer-driver-gutenprint` so Epson printers can expose Gutenprint-backed PPD and driver options in CUPS.
- Start or enable the CUPS service, then open the CUPS web interface at `http://localhost:631`.
sudo apt update
sudo apt install cups cups-client cups-daemon printer-driver-gutenprint
sudo systemctl enable --now cups
After installation, verify that CUPS sees the queue and that Gutenprint-backed options are visible. The second command is especially useful because it lists the actual option names your queue exposes.
lpstat -p -d
lpoptions -p YOUR_PRINTER_NAME -l | rg 'Resolution|PageSize|media|Stp'
2. Configure the printer in CUPS
CUPS is where the queue, default media behavior, and driver-backed options are defined. A safe setup pattern is to add the printer first, print a plain test page, and only then move into raster output from 3d2holo-desktop.
- Open `http://localhost:631`, go to `Administration`, and choose `Add Printer`.
- Select your Epson printer, authenticate if asked, and choose the Gutenprint driver entry for the printer model.
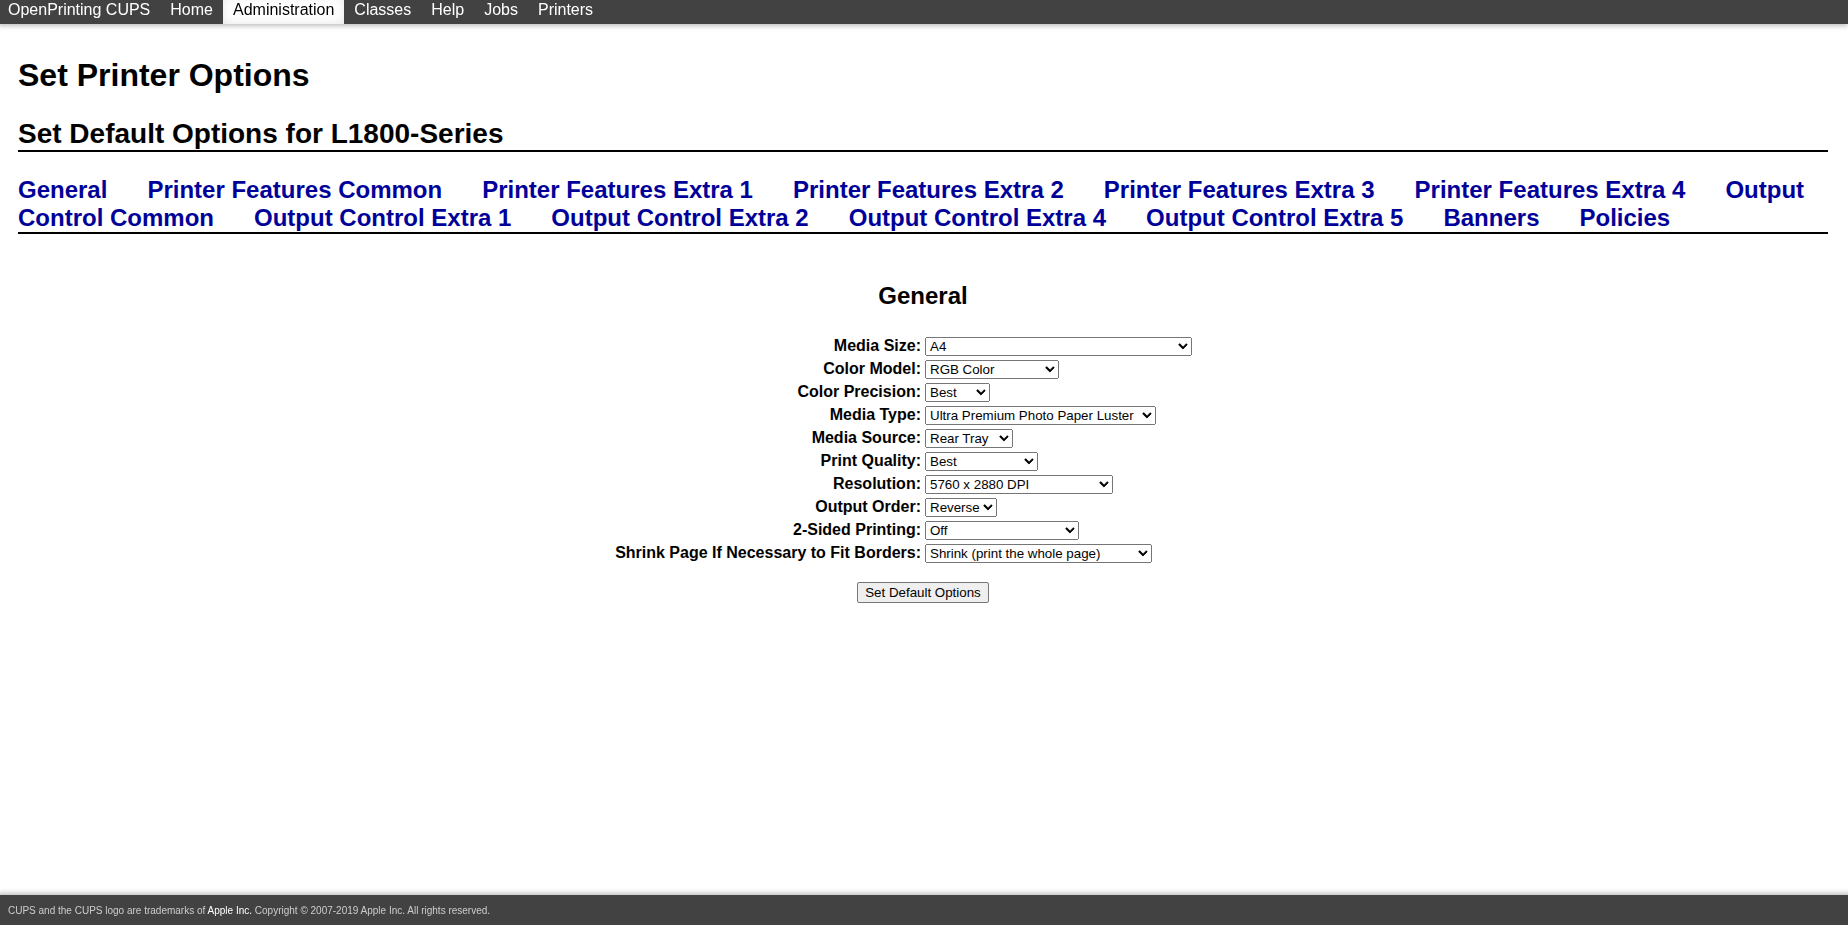
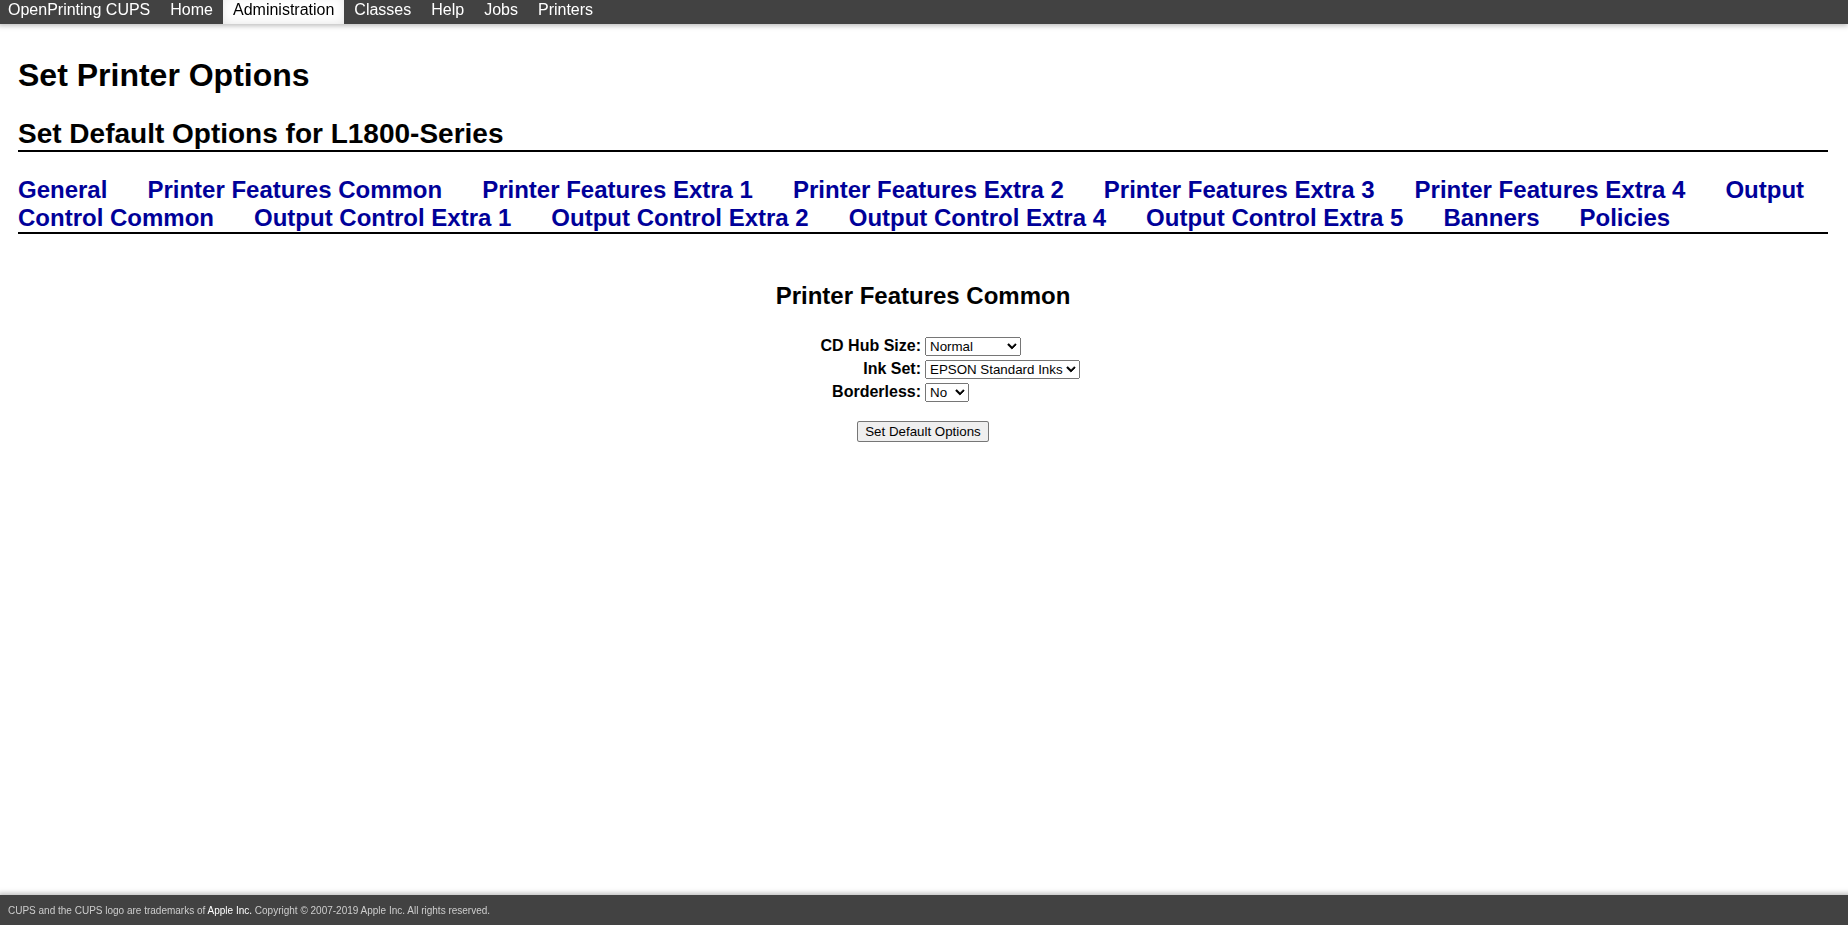
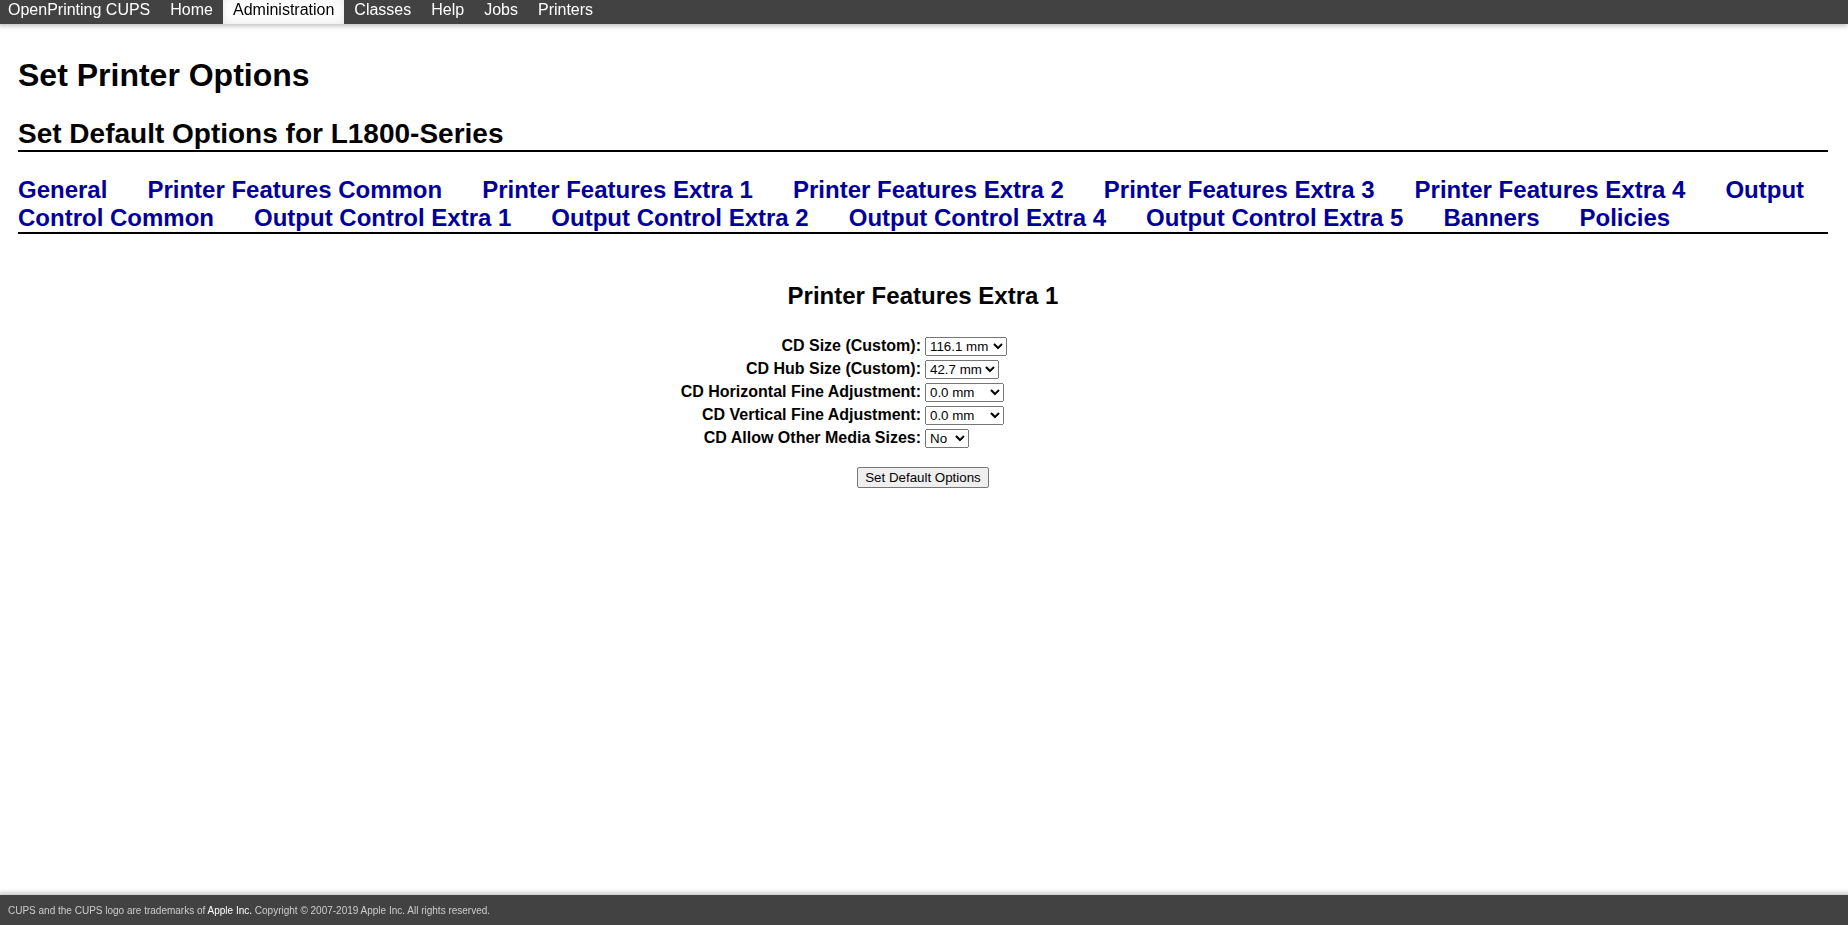
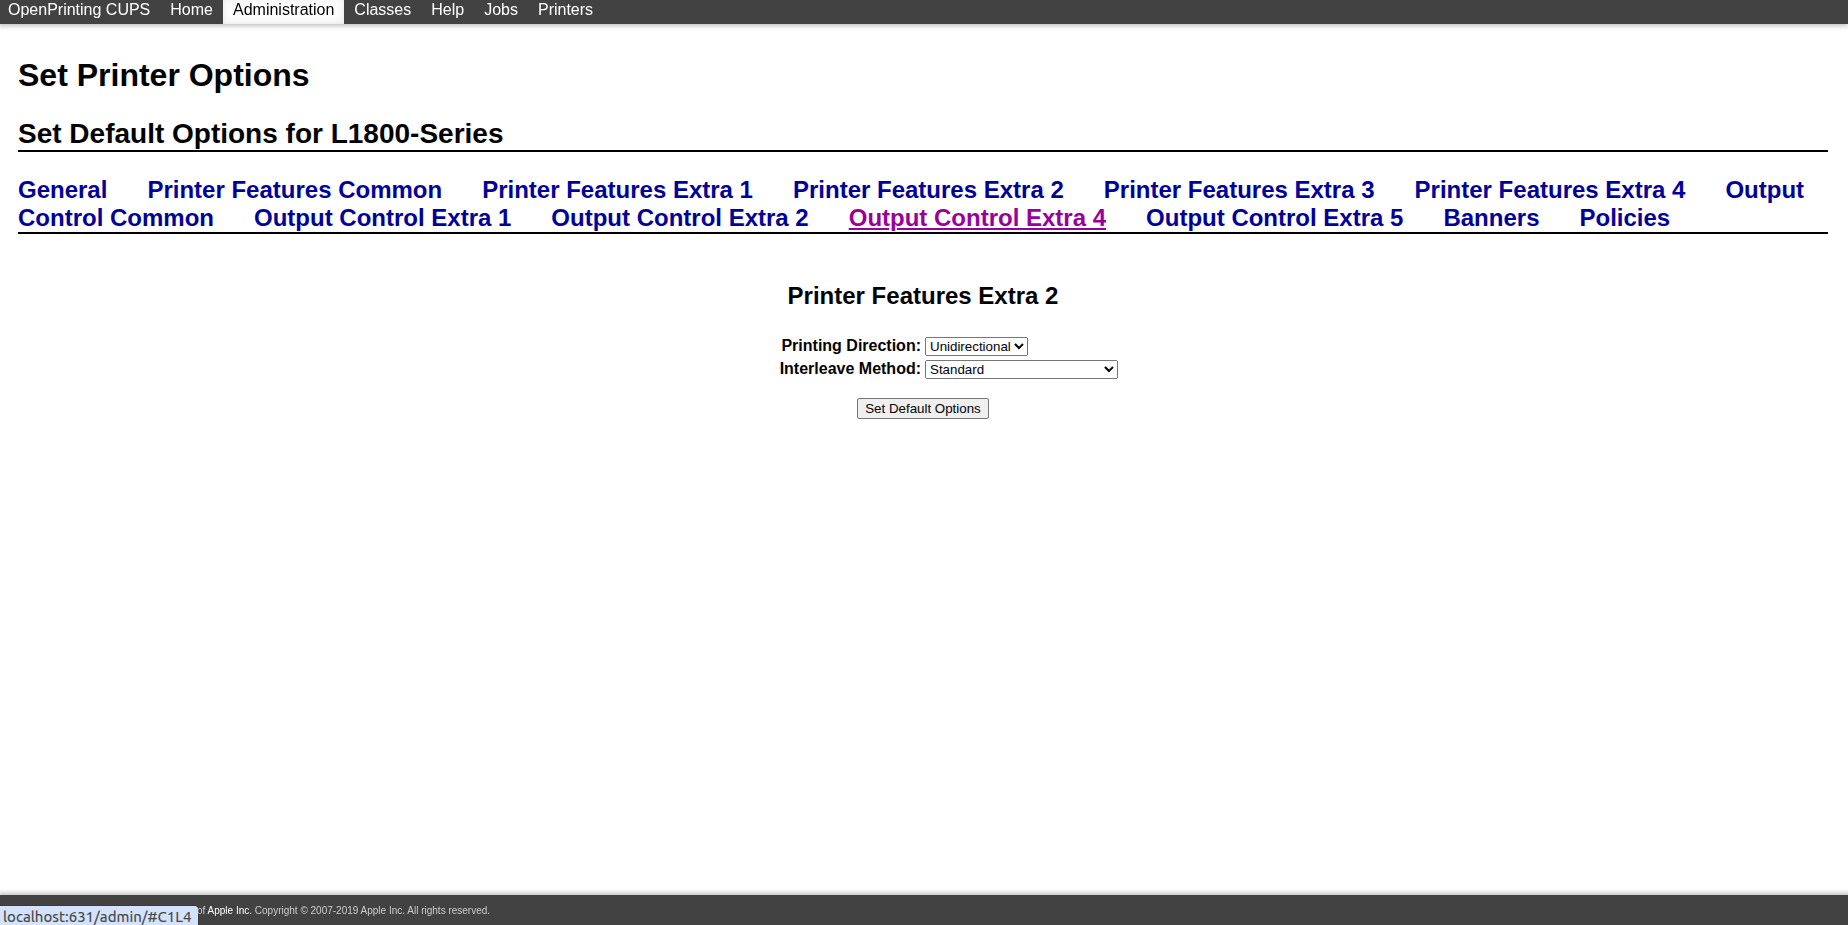
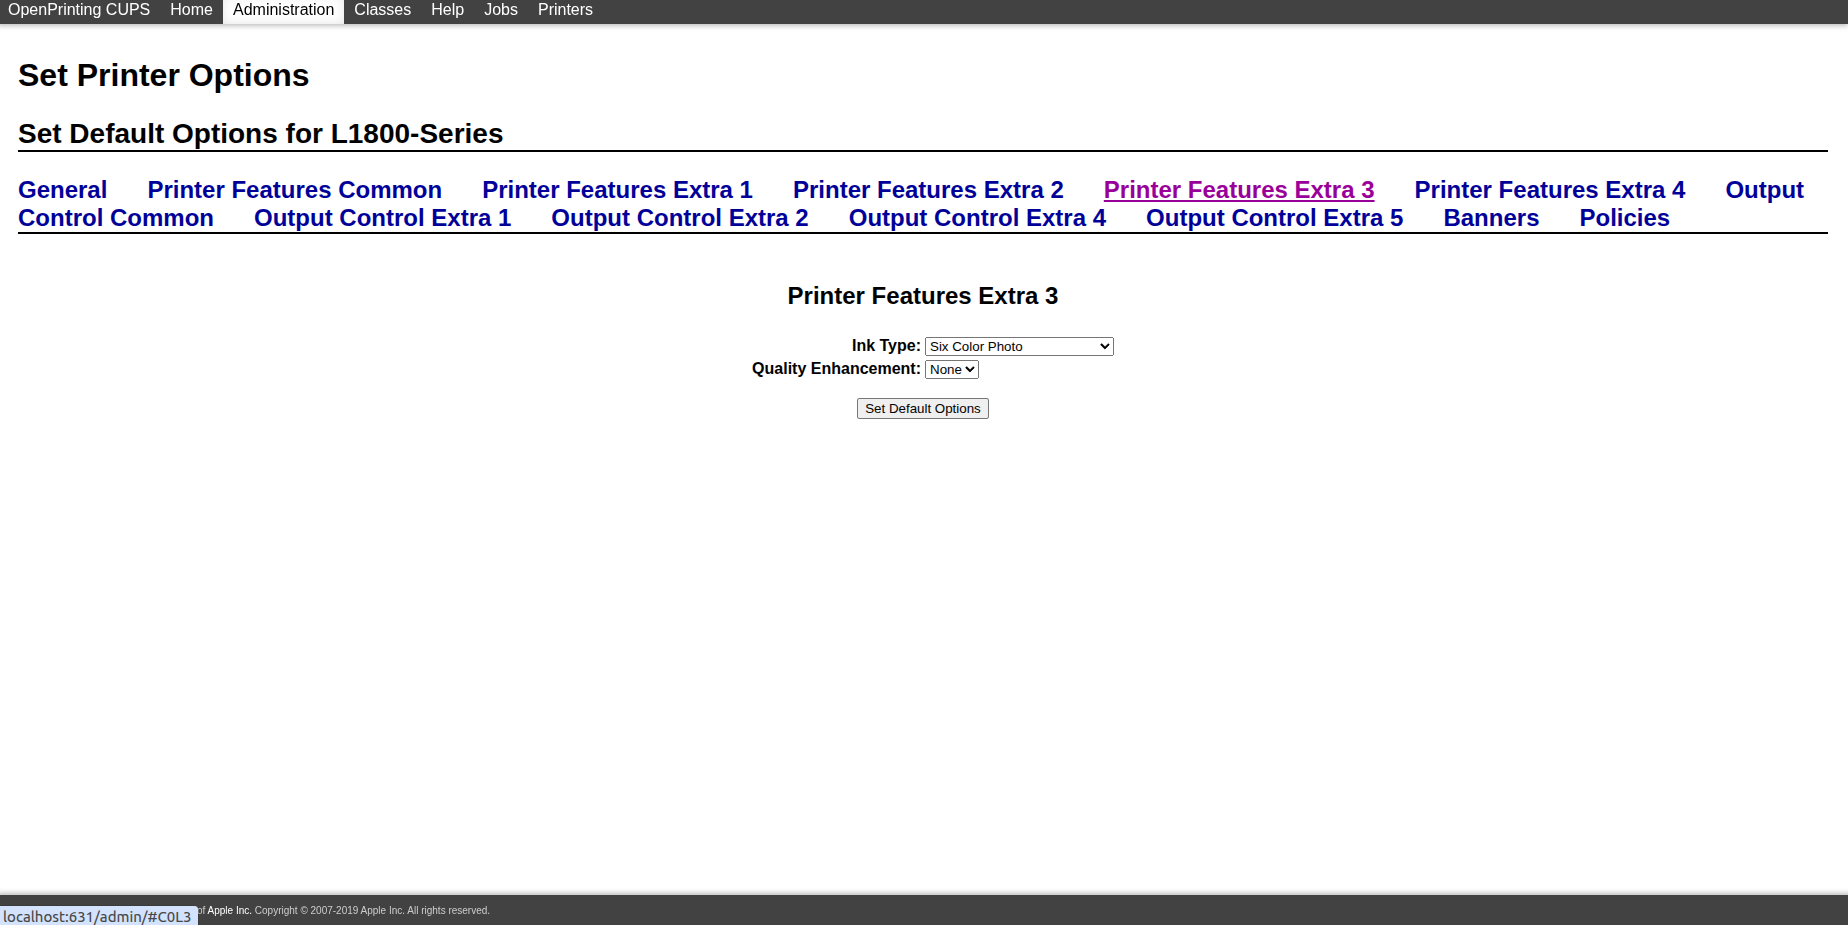
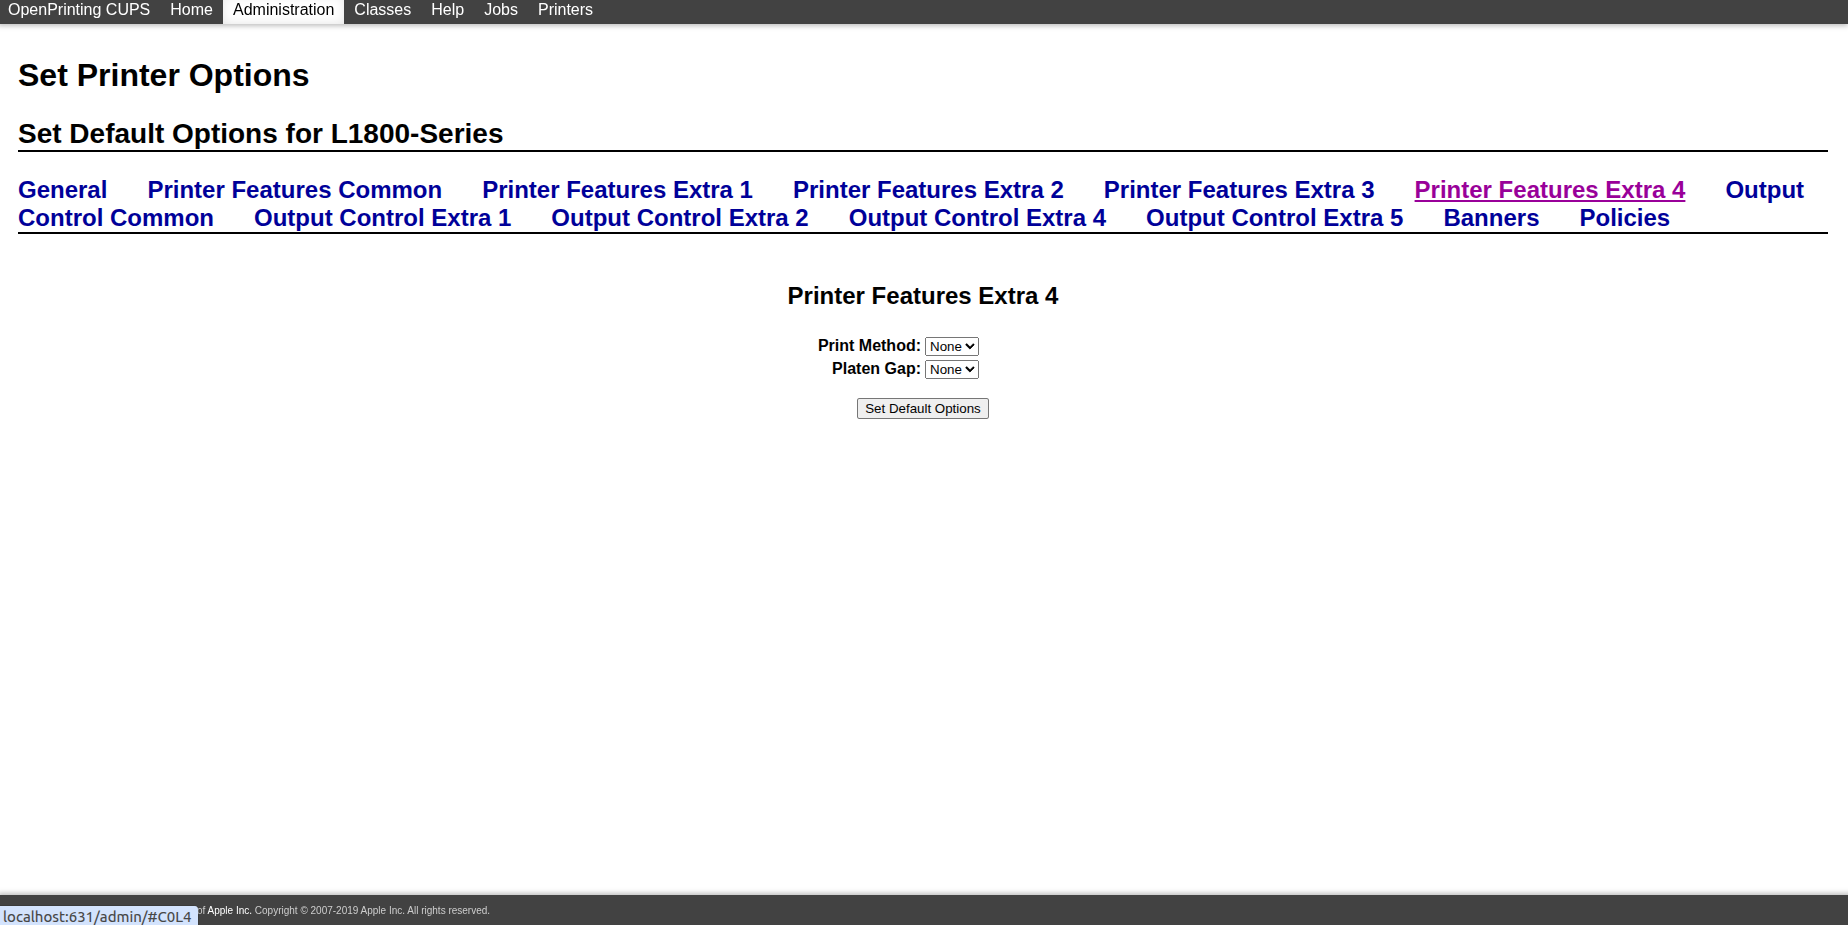
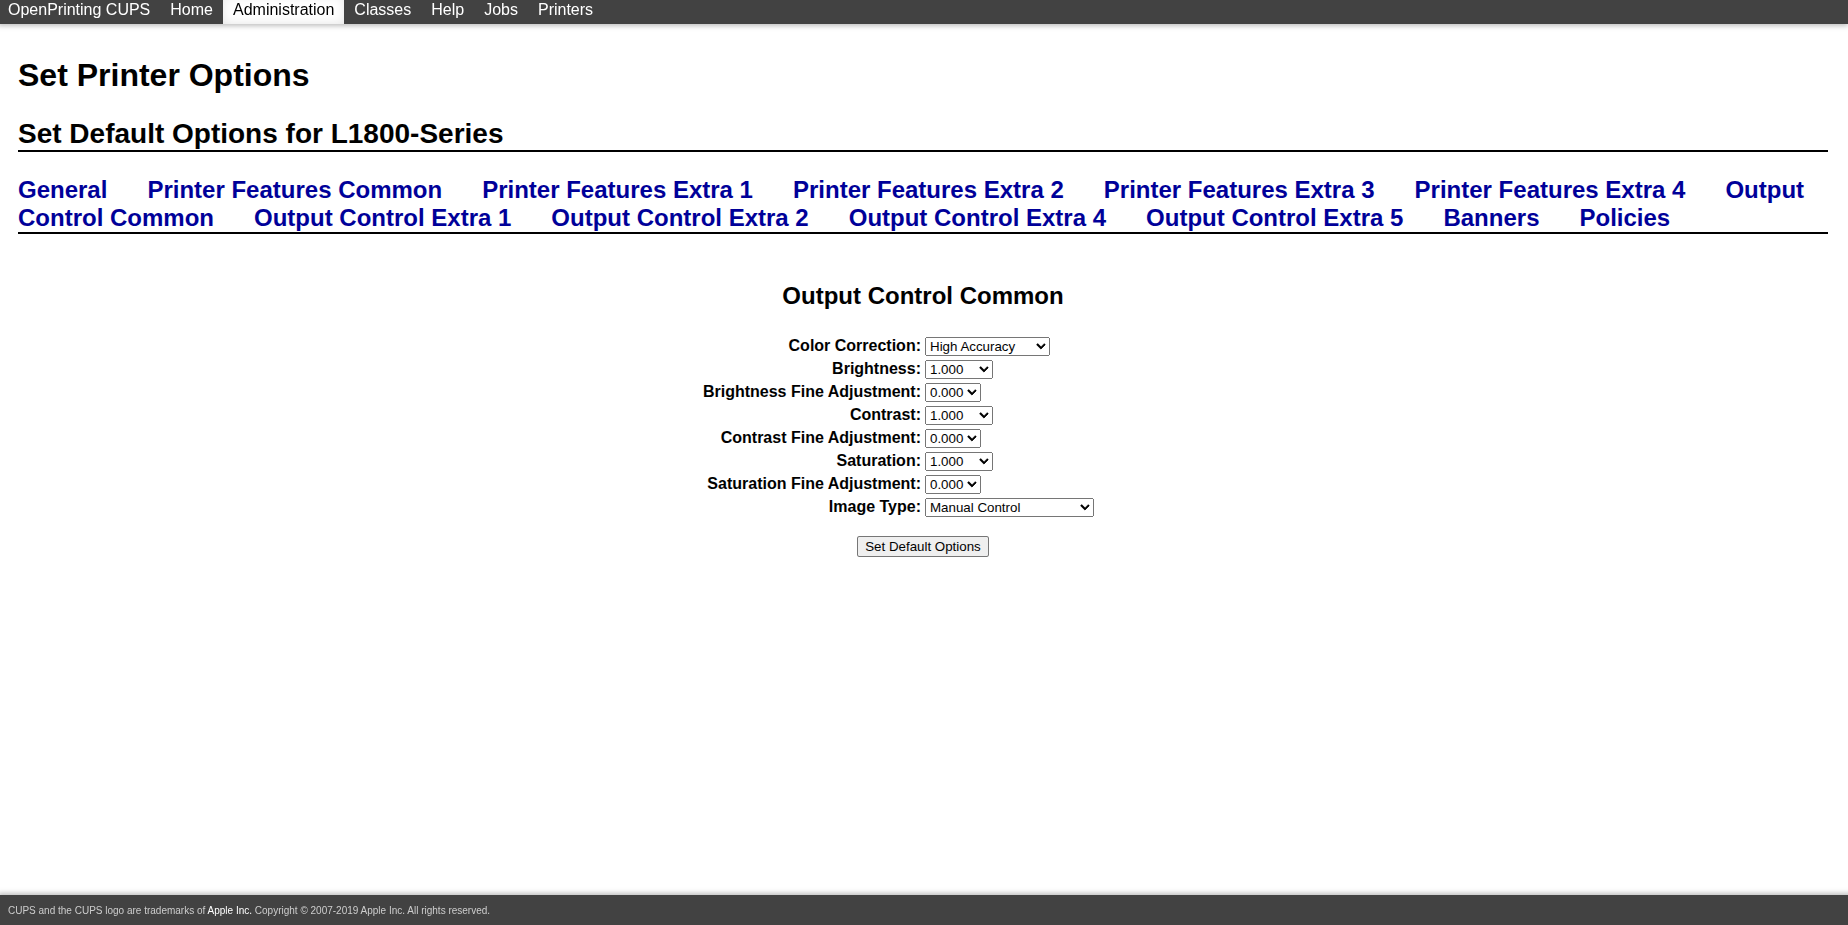
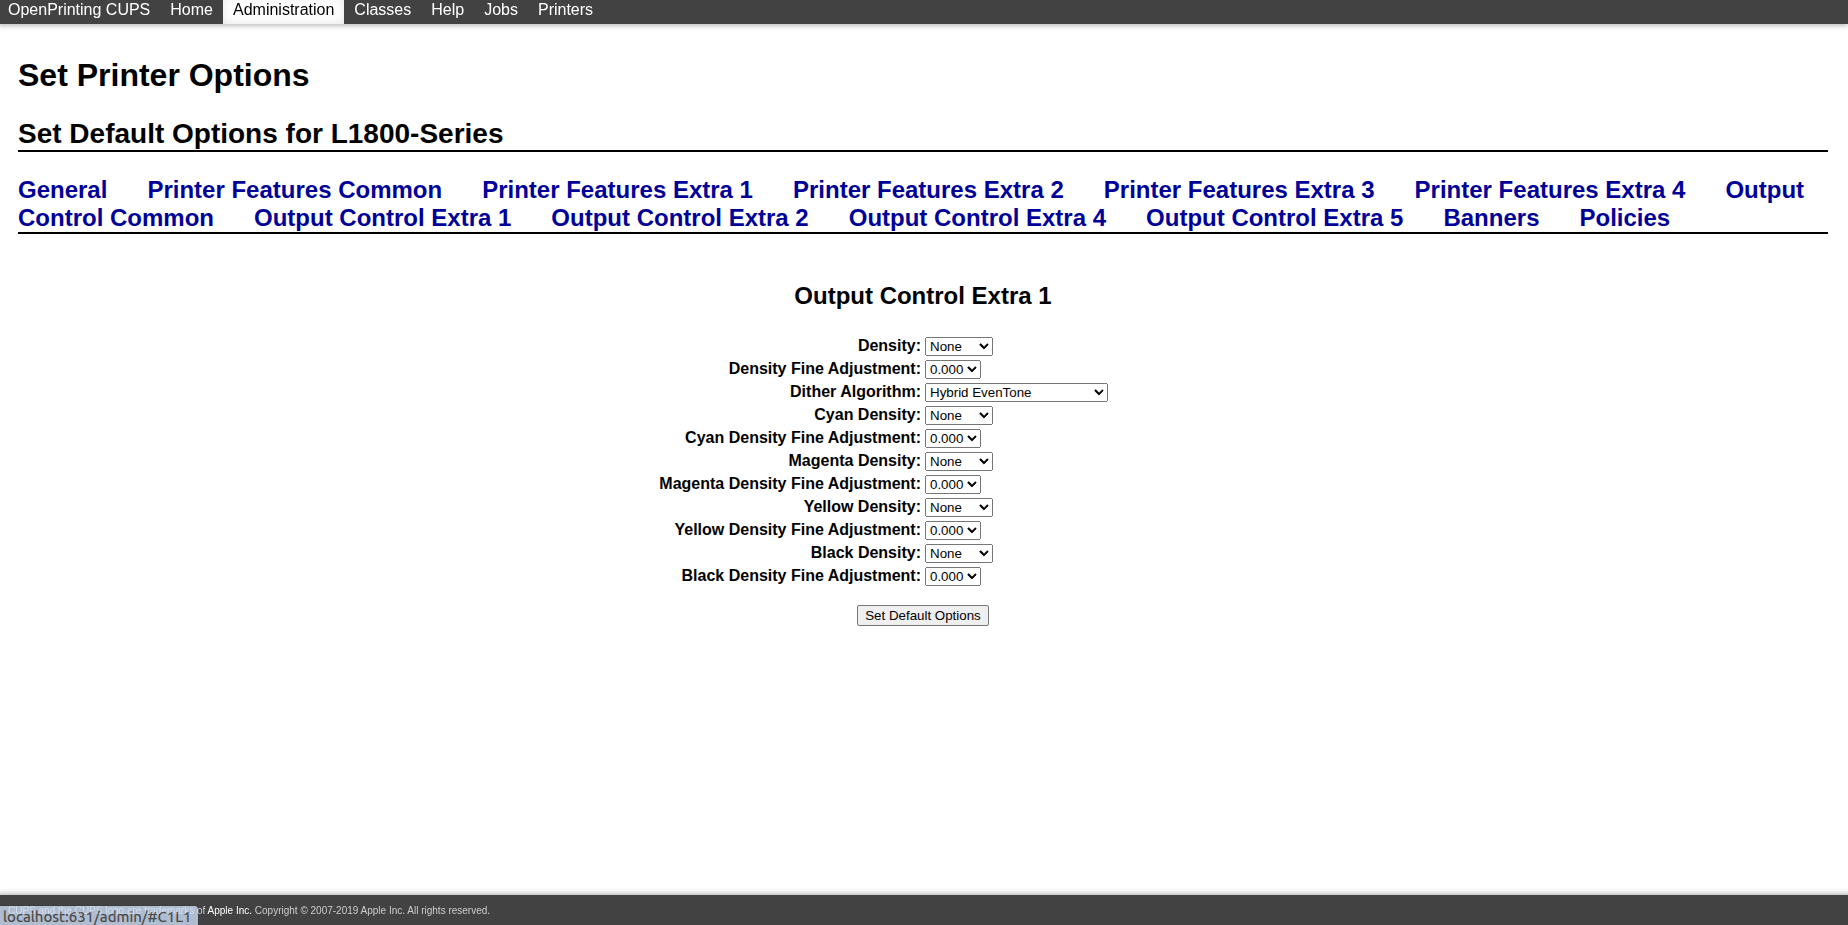
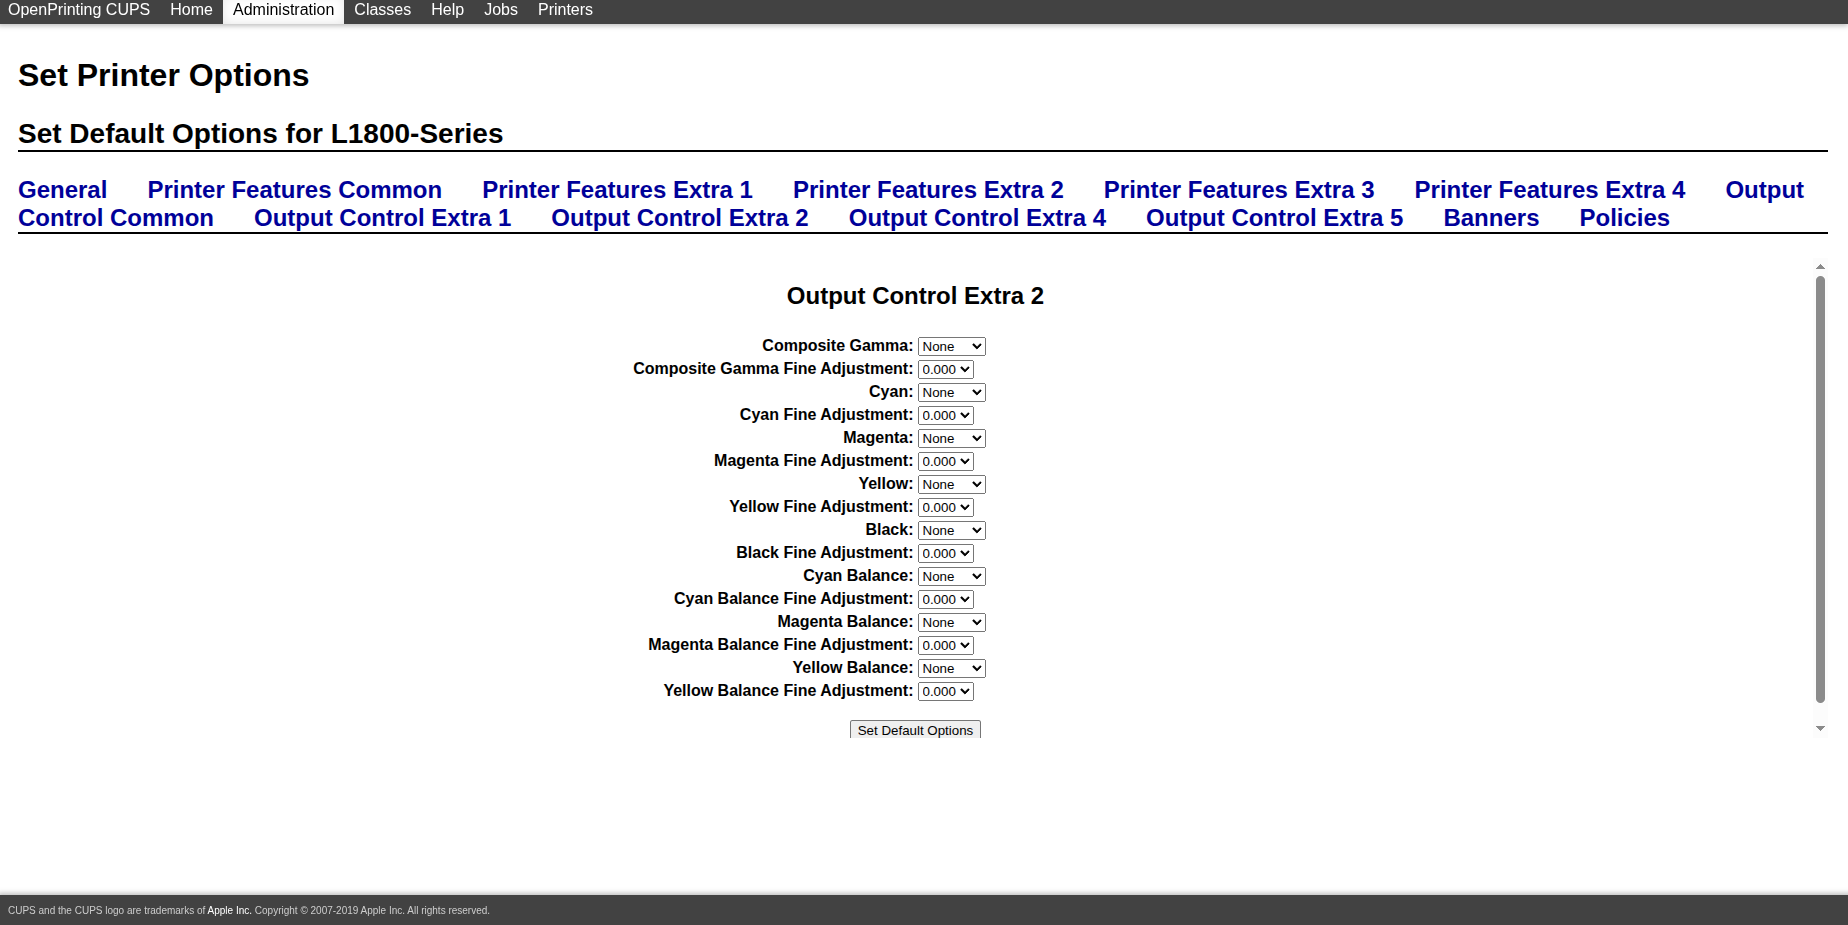
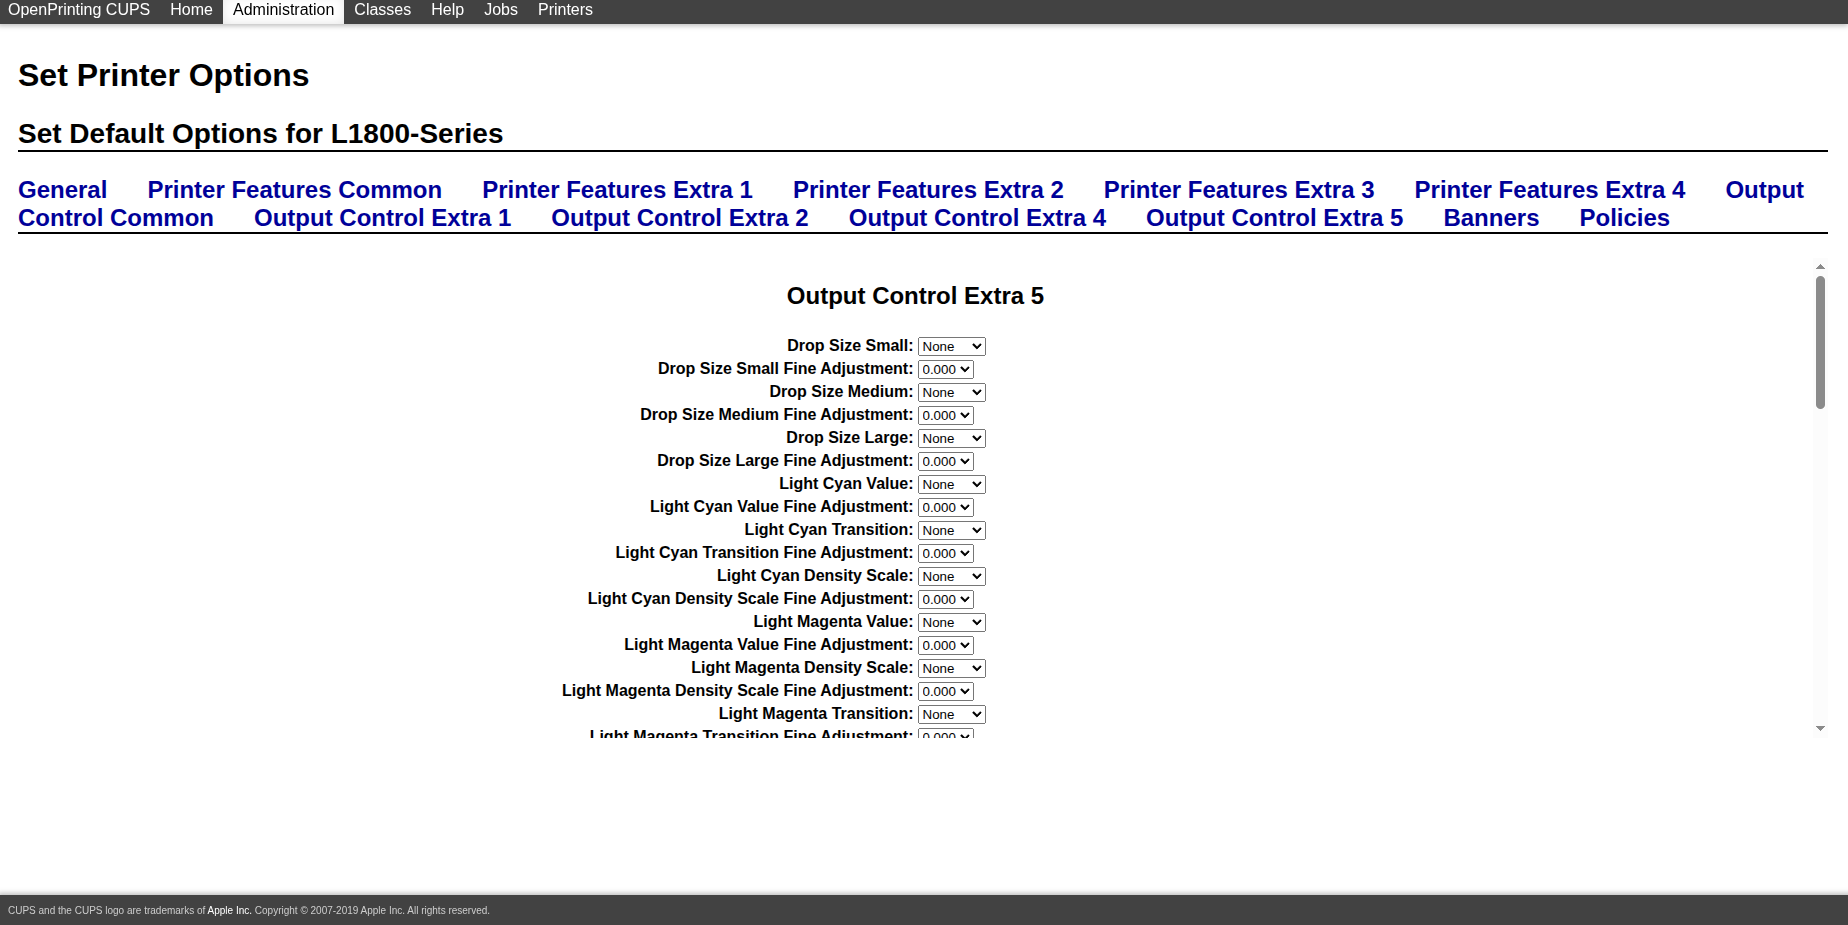
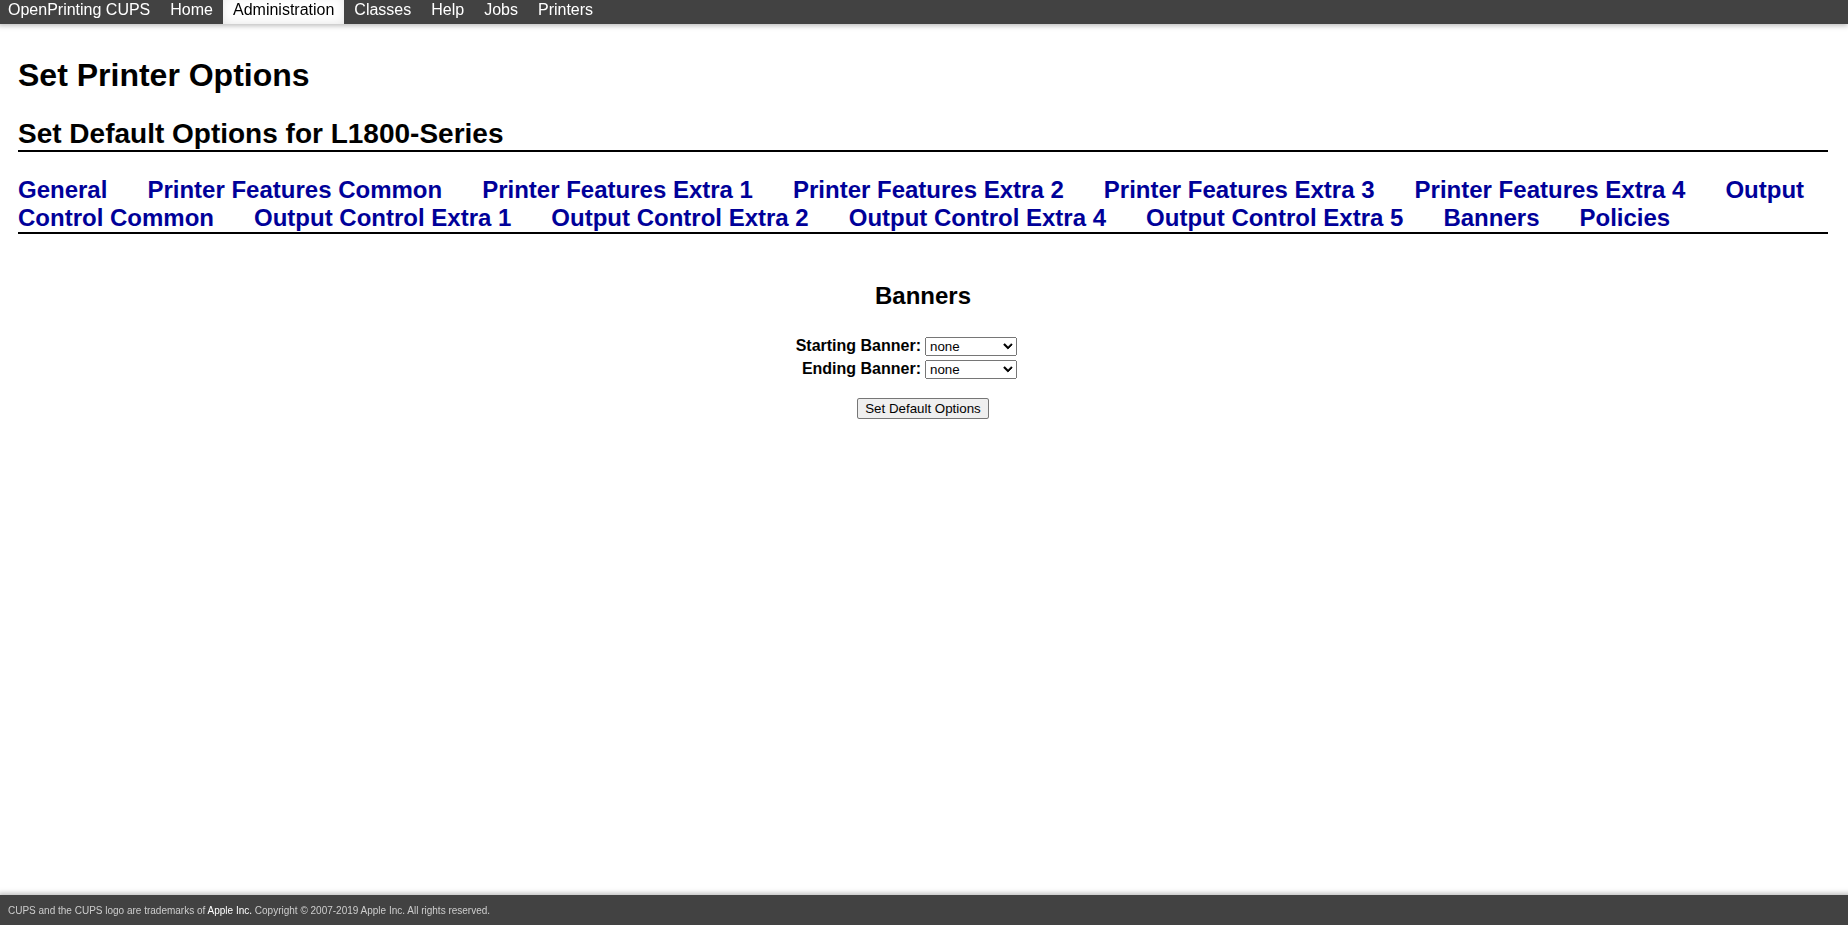
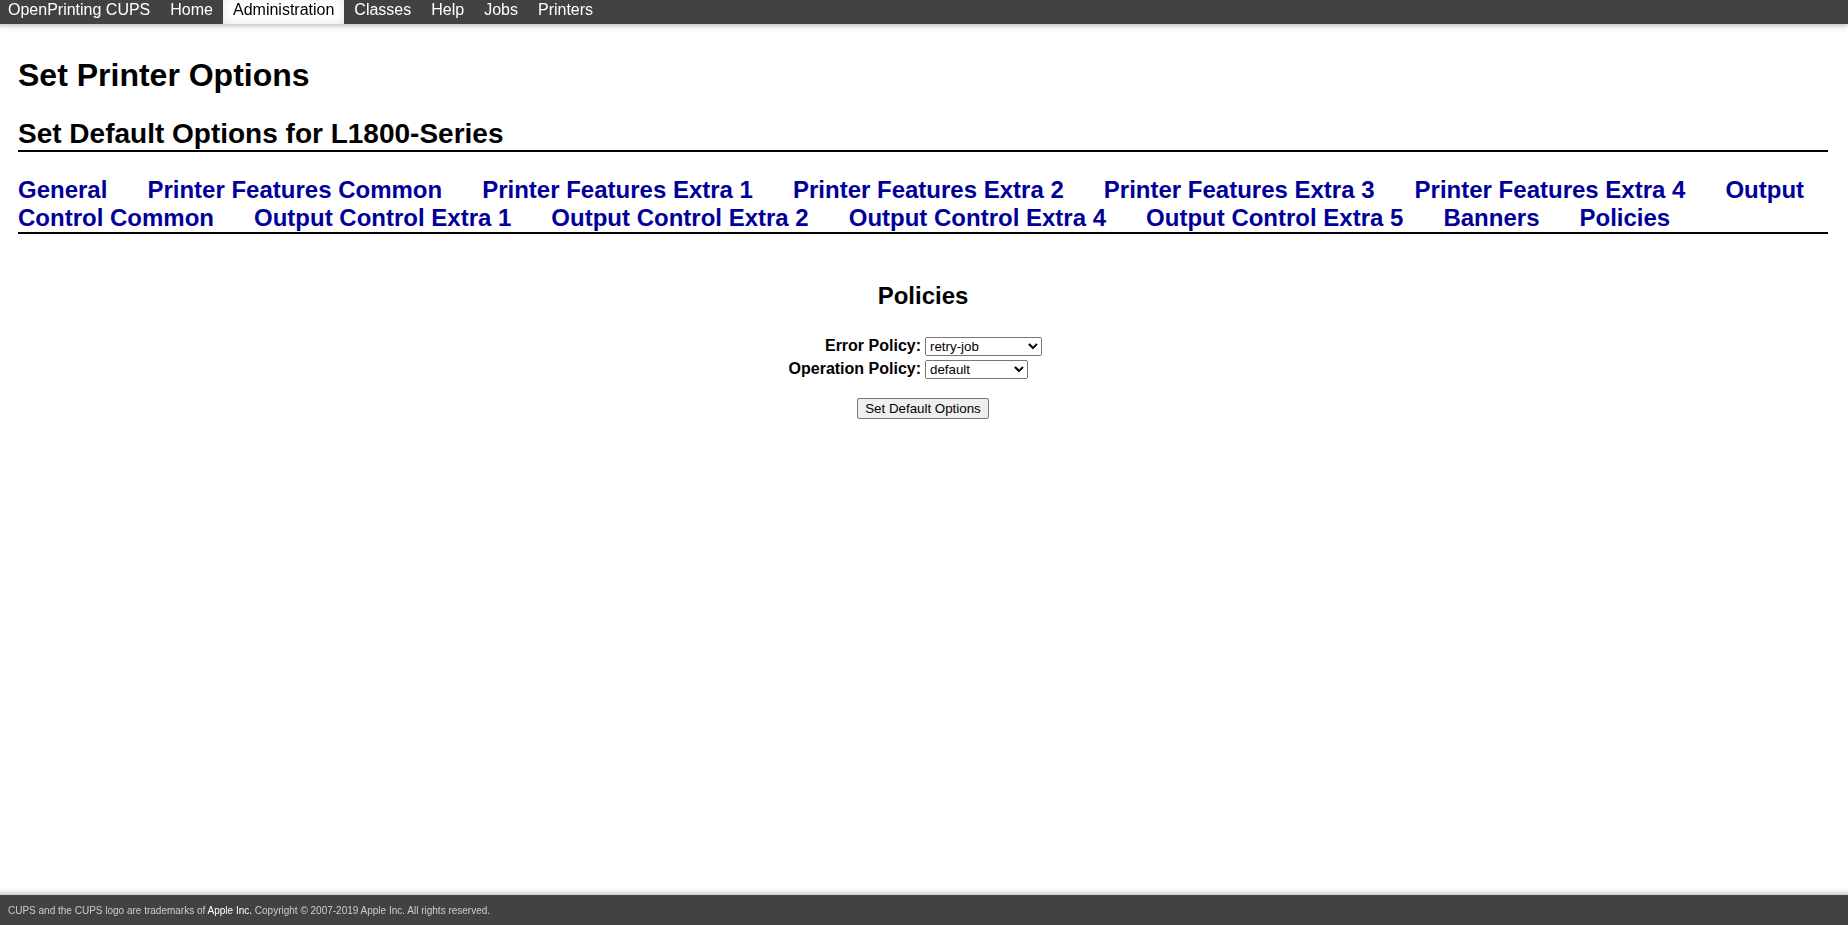
- After the queue is created, open the printer page and use `Set Default Options`.
For the actual queue defaults, follow the parameter values shown in the screenshots below. They reflect the intended CUPS setup for the current raster workflow more directly than a generic table.

3. Use raster mode inside 3d2holo-desktop
Once the printer queue is ready, the in-app workflow is straightforward. The raster controls appear only when the output format is switched to `ras`, and the print button is shown only after the exported file path ends with `.ras`. In the result area, that `Print` button appears directly to the right of `Download`.
- Open the 2D, 3D, Sketchfab, or pitch-test workflow that will generate the image you want to print.
- Set `FORMAT` to `ras` in the Output section.
- Choose the `5760*2880` preset for `RESOLUTION`.
- Set `DIRECTION` to the raster orientation you want for the print job. If you are testing a standard horizontal lenticular layout, start with `horizontal` and verify with a small print first.
- Choose `PRINTER` and `SIZE` so the raster job targets the intended queue and paper format.
- Adjust `X OFFSET (IN)` and `Y OFFSET (IN)` to position the printable content on the sheet. The layout preview in the desktop UI is there to help center or shift the raster rectangle before export.
- Export the result. If the saved result is a `.ras` file, the desktop UI will expose the `Print` button to the right of `Download` for direct submission through CUPS.
- Use the active job list in CUPS, or the app's print status, to confirm the job reached the queue.
If you do not want to submit from the UI, you can also send the same `.ras` file to CUPS from the command line. In the current desktop code, printing uses the file name as the job title and explicitly passes `Resolution`, `PageSize`, `media`, `MediaType`, `StpMediaType`, and `StpPrintingDirection=Unidirectional`. `DIRECTION` plus the X/Y placement offsets are already baked into the generated `.ras` content, so they do not need to be repeated as separate `lp` options.
lp -d YOUR_CUPS_QUEUE \
  -o Resolution=5760x2880dpi \
  -o PageSize=A4 \
  -o media=A4 \
  -o MediaType=UltraGlossyPhoto \
  -o StpMediaType=UltraGlossyPhoto \
  -o StpPrintingDirection=Unidirectional \
  /path/to/result.ras
Three concrete examples that match the desktop presets
L1800 + A4 + 5760*2880
lp -d YOUR_CUPS_QUEUE \
  -o Resolution=5760x2880dpi \
  -o PageSize=A4 \
  -o media=A4 \
  -o MediaType=UltraGlossyPhoto \
  -o StpMediaType=UltraGlossyPhoto \
  -o StpPrintingDirection=Unidirectional \
  /path/to/result.ras
P608 + A3 + 2880*2880
lp -d YOUR_CUPS_QUEUE \
  -o Resolution=2880x2880dpi \
  -o PageSize=A3 \
  -o media=A3 \
  -o MediaType=GlossyPhoto \
  -o StpMediaType=GlossyPhoto \
  -o StpPrintingDirection=Unidirectional \
  /path/to/result.ras
L1300 + A4 + 5760*1440
lp -d YOUR_CUPS_QUEUE \
  -o Resolution=5760x1440dpi \
  -o PageSize=A4 \
  -o media=A4 \
  -o MediaType=GlossyPhoto \
  -o StpMediaType=GlossyPhoto \
  -o StpPrintingDirection=Unidirectional \
  /path/to/result.ras
Raster fields you will see in the current desktop UI
- `FORMAT = ras` enables the raster-specific controls.
- `RESOLUTION` is selected from the raster preset list rather than a free numeric field.
- `DIRECTION` supports `horizontal` and `vertical`.
- `PRINTER` selects the destination CUPS queue.
- `SIZE` selects the raster page size preset.
- `X OFFSET (IN)` and `Y OFFSET (IN)` control physical placement on the page.
Common problems to check first
- If the app says no printer is configured, make sure CUPS has either a default printer or the exact queue name selected in the raster printer field.
- If print placement looks wrong, confirm that the CUPS `PageSize` and the in-app `SIZE` really match the same paper definition.
- If the image scale looks wrong, verify that the raster resolution preset in the app matches the queue resolution exposed by Gutenprint.
- If media behavior is inconsistent, check the queue defaults in CUPS instead of assuming the app can override every Gutenprint media option.
Next step
If you want to install the desktop app first and then follow this guide, open the software download page and get the latest desktop package.
Open the software pageFAQ
Do I need Gutenprint to use raster mode?
You need a working CUPS queue either way, but Gutenprint is especially relevant when your Epson workflow depends on Gutenprint-backed media, resolution, and print-direction options.
Should I configure the printer in CUPS before opening 3d2holo-desktop?
Yes. It is much easier to debug queue setup in CUPS first, print a normal test page, and only then move into `.ras` export and direct printing from the app.
Why does the guide recommend small test prints (1 x 1 inch) first?
Raster printing combines queue defaults, page size, resolution, offsets, and lenticular alignment. A small test confirms that the queue, orientation, and physical placement are correct before you waste larger media.